Party Ideas
Party Ideas
Monthly Archive: January 2014
Hi, I’m Gracie. I'm a 13 year old crafter, passionate foodie, beauty queen and a hater of boredom- that’s me!
We all get bored sometimes. Whether it’s a lazy Sunday afternoon or you’ve run out of fun to do with your besties, I have a fix for you. I’ll be posting activities that are easy and a load of fun for tweens aged 8 to 13 years.
So instead of saying “I’m sooooo bored!” , you’ll be saying “I’m having such a blast!” Stay tuned ![]()
Gracie
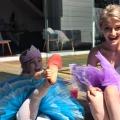
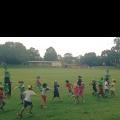
Start the night before the party. Take a bunch of old T-shirts from your wardrobe (or your Dad's), enough for each player. Use old shirts, because sometimes they can rip.
Soak the shirts in water and wring out. You don't want too much excess water or the game will take over an hour as the shirts will stay frozen.
Flatten out the shirts and fold each one neatly into as small a square as you can. Press down to squeeze out even more water. Place each T-shirt in a freezer bag.
Put the T-shirts in the freezer overnight, (If you can leave them in for 2 days this works even better).
At game time, take out the T-shirts and hand one to each player. Instruct guests that whoever gets their T-shirts on first, wins.
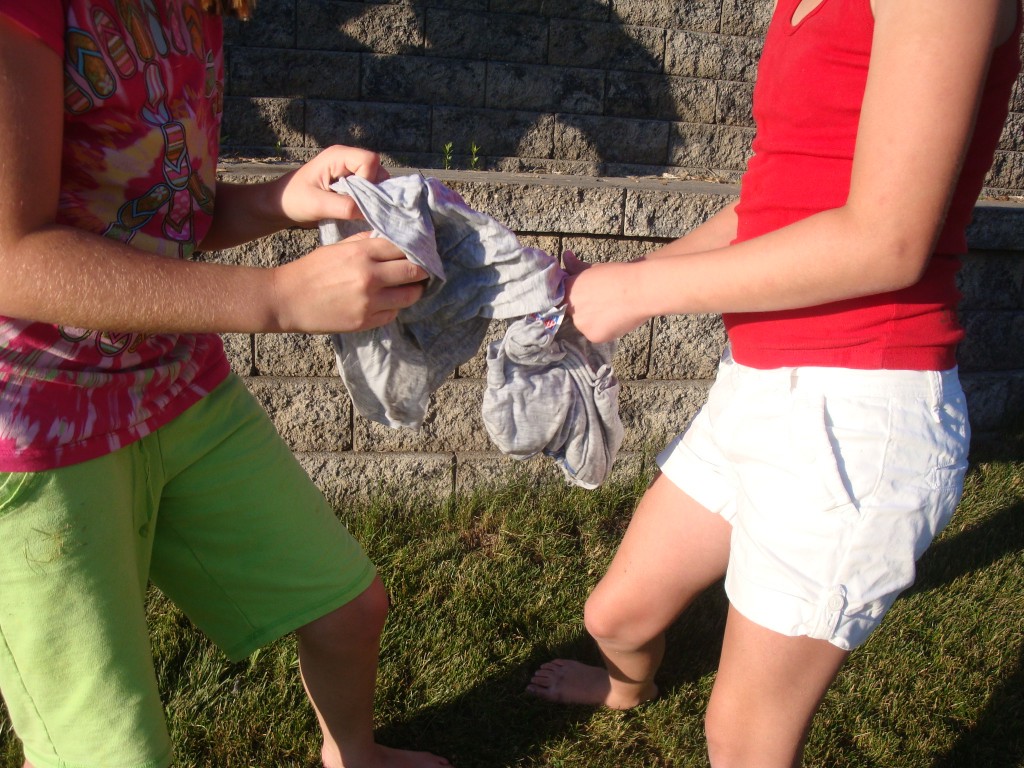
Image Source: A Mum's Year
Game Rules: Players must NOT place their T-shirt in water, no microwaves, cannot leave the game area and no sharp objects must be used.
Have Fun

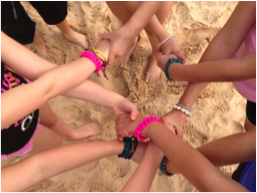
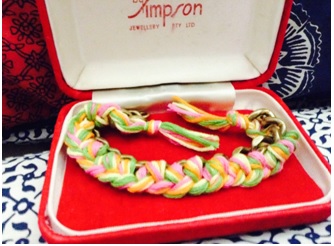
Whether you stumbled across your Mum’s old jewellery or you are looking for a cute easy DIY gift, re-vamping a chain bracelet is fun, easy and cheap. This is a great craft to bust your Perth school holiday boredom
You’ll Need:
A gold chain bracelet – if you don’t have one, you can easily find them in thrift stores or alternatively raid Mum or Gran’s jewelry collection (just make sure to check with them first).
12 x40cm pieces of colourful string – stick to a maximum of 5 colours or it may look a bit busy. This will work out that you will have to cut 2 or 3 bits of string per colour.
Pliers and clip with clasp – if your gold bracelet doesn’t have anything to join it together, you will have to put this on at the end
 Image Source: Useful DIY
Instructions:
Start by knotting the string together at the top. Separate the strands into two equal sections.
Take one section and thread it through the first link in your chain. Take the other section and lay it on top of the other (the one that has been threaded through).
Thread the non-threaded section from the bottom into the same link as the other.
Take the section that you first threaded and thread into the next link.
Again, take the non-threaded section, place it on top of the other and thread it through, from the bottom into the second link.
Repeat this pattern until you have threaded the entire bracelet.
When you reach the end, if your bracelet does not have a clasp, use the pliers to open up the clasp link, attach the clasp and close the link up on the end bit of your bracelet.
Wear your bracelet with pride or wrap it nicely and give to someone special.
There comes the time of year when the school holidays are still in swing, but we have to start thinking about the new school year. It might seem weird, but it’s a really good feeling to have sharp pencils and non-graffitied pencil cases (that are actually white!)
I also find that when buying my school stuff, I want it to be original and different from the rest of my class (I mean come on, who’s accidentally swapped pencils with someone because they look the same?). Even if I have named my stuff, those name stickers always seem to fall off.
So, to avoid all these Back-to-school stationary ‘dramas’, I’ll show you how to do it the ‘write’ way
School Books and Journals
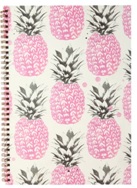
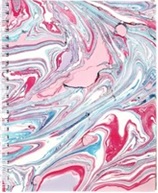
By half way through the year, the covers on most of my books are being held just by the last of their staples and were rather frayed around the corners. But I have found a solution! Instead of buying the cheap journals from the newsagents (where I get my stationery), look for ones with spinout binders, as they will last longer and are well worth their price tag. Good stores like Typo have great notebooks and have a ton of gorgeous designs!
If you want to make your own notebook designs, take your plain notebook, choose what you are going to put on your book, glue it down and cover the book in clear contact. The fun in this is that you can play around with what you put on the cover of your book. Magazine clipping, funky patterned paper and photos of you, celebrities or baby animals look cool!
Pencil Cases
We’ve all been there: “Sign my pencil case!”, “Can you sign mine?”
By the 3rd week, our pencil cases look like an autograph book! While there is nothing wrong with that, you won’t want to write on these cute pencil cases from Typo and Smiggle:
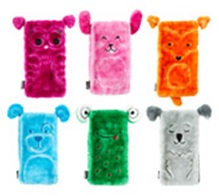
If you want a more original pencil case simply buy a plain white fabric pencil case and draw on a desired design with fabric markers. Hey presto! Your own completely original pencil case (I can guarantee no one else in your class will have one like it!
That’s just the beginning of your school stationary! Stay tuned for another post on how to pimp up your school stuff.
xoxo
Last time I showed you how to make your school books and your pencil case original, but what do you do when it comes to naming them? Name stickers are great, but they usually fall off and are definitely not as funky as these ones that I will show you
Pencils
Anyone who’s misplaced their pencils every now and then might have a hard time in that they don’t know which is their’s! I’ve found a simple yet effective way in making sure you know what stuff is your stuff!
You’ll need:
A pen
The pencils that you want to name
Sticky tape
Colourful paper, magazine clippings, patterned card.
Instructions:
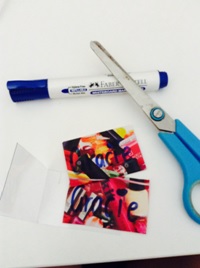
Take your paper or magazine clippings, etc. and cut small strip (one for each pencil), around 1cm tall and 3cm long.
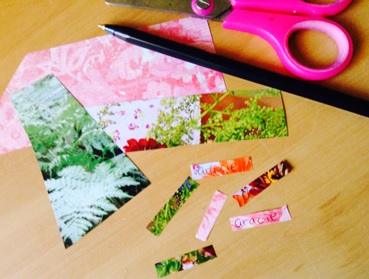
Write your name on them
Sticky Tape them onto your pencil
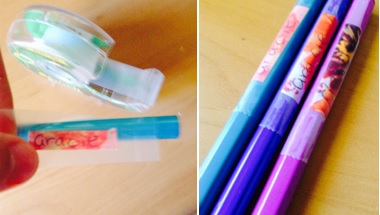 How easy was that?!
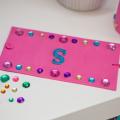
Now to your pencil case! The one thing you really don’t want to loose at school is your pencil case. There is a cute solution to this though!
You’ll need:
A sheet of hard plastic (such as off of a toy)
A piece of coloured card, magazine clipping, patterned paper, etc.
A pen
Sticky tape
A hole punch
Instructions:
Cut out two pieces of paper (same size) and write your name on both sides.
 ·
·
Cut one bit of plastic, except double the size of one piece of paper.
Bend the plastic in half and put your pieces of paper in between.
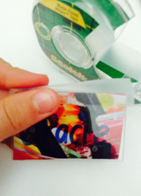 Tape up the open sides
Hole punch the nametag and thread a piece of string through.
Attach you nametag to your pencil case!
.png)
USB Lanyards
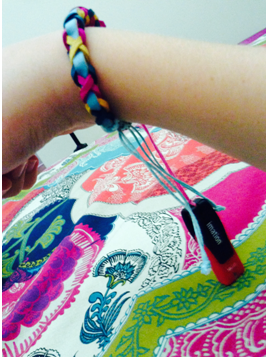
It’s totally THE worst feeling when you loose your USB. All that hard work is lost! USB’s are hard to name but I’ve found a cute way you can easily keep it safe and identify it.
You’ll need:
A bracelet- preferably leather or string without beads
String
Instructions:
Your USB
Take the string and attach it to the USB
Thread the string attached to the USB somewhere onto the bracelet and knot it many time
Wear your USB with pride and reassurance that you won’t loose it.
I hope you guys have a great start to the school year and I am sure you will have the coolest stationery in your class!
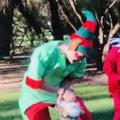
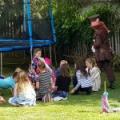
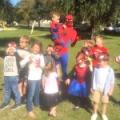
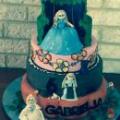
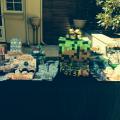
Throw a prehistoric birthday bash your T-Rex will never forget with these simple Dinosaur party games and ideas. If your child has seen Walking with Dinosaurs in Perth this summer, then chances are they are asking for their very own Dinosaur party. Encore can tailor a design your own dinosaur party with all the games listed below if you are not feeling up to a DIY version.
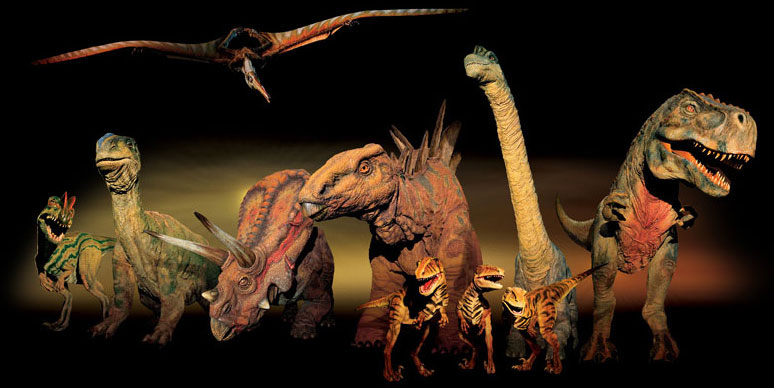 Image Source : Wired.com
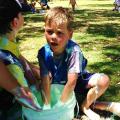
Dinosaur Dig : Make your own dino eggs by mixing two cups of used coffee grounds, one cup of flour and one cup of water. Mix well and roll a handful into a egg shape. Push a small Dinosaur figurine (I used the cheap Kmart version), then re-roll into the egg shape ball. Bake on 180 degress for 30 mins. Leave to cool. On the party day, hide the eggs in a sandpit for some dino dig fun! An alternative version is to purcahse dinosaur bones (Australian Geographic store) and bury them in the sandpit for a dinosaur excavation.
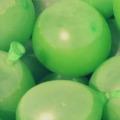
Dinosaur Relays: Simple egg and spoon relay using dinosaur eggs (Easter eggs work well or water balloons)
Pin the Tooth on the T-Rex - an oldie but a goodie
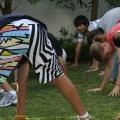
Tyrannosaurus Tail Tag : Tyrannosaurus in the middle, and the children are lined up on the opposite side of the room as "Triceratops". They have to try to get from one side to the other without being caught by the T-Rex.
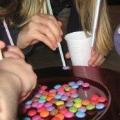
Paleontologist Training: Training session on using your skill to dig out dino bones. Each child is given a choc chip cookie, a toothpick and a paper plate. The object of this activity is to pick out the choc chip using only a toothpick as a paleontologist would without breaking the chips.
Dinosaur Treasure Hunt: Children are sent on a treasure hunt journey solving the dinosaur clues (answering questions on each dinosaur) to discover their very own Dinosaur prize.
Dinosaur Says: This is a simple game whereby you play Simon Says. Dinosaur Says, Fly like a Azhdarchid, Stomp like a Gorgosaurus, Glide like a Alexornis, Run fast like a Velociraptor, STretch like a Brachiosaurus and Roar like a T-Rex
Pass the Dinosaur : Simple game of Pass the Parcel but pass a dinosaur object. Have the children act out a dinosaur challenge for added fun.

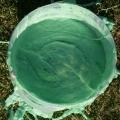
This Ice Age Dinosaur activity I just love from Mamaguru There are full instructions on how to make these simple ice dinosaurs for Ice age fun.
Enjoy

Whether you’re the small digital camera person, the iPod photographer, or fully kitted out pro, snapping that special moment can be hard at times. Luckily, I have a few tips and tricks to help you score that perfect pic!
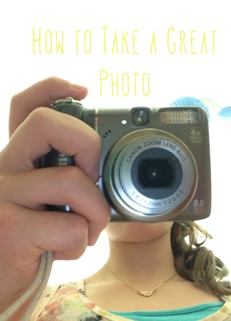
Find your lighting
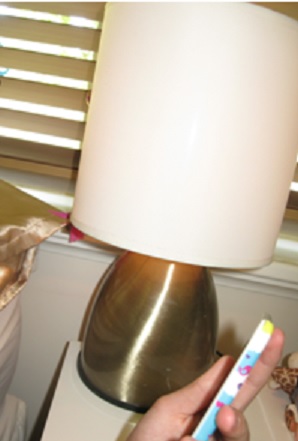
The key to a great photograph, is to make sure you have sufficient light. Not enough light, and you won’t be able to see what is in your photo properly. Too much light and you may highlight an area so much that you can’t see it at all! Finding this balance can be tricky, but it is a good idea to always find the source of light (a lamp, the sun, a room light, etc.) and work with it.
Find your angle
Play around with different angles for your shots. Taking a photo from above an object can make it seem small or young. Taking a photo from below also does the opposite, in that it will make the object look big or old. Taking a photograph at the same level of an object can create the sense that you are seeing what they are seeing.
Take your photograph
Really make sure that when taking your photo that you hold your camera still, other wise the photograph may appear distorted and blurry.
Play around with filters
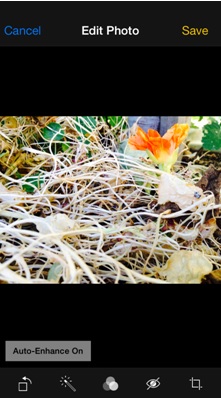
Filters can make a photo appear brighter, darker or accentuate different colours. Take into account, that if you had lots/not enough light, do not add a filter that puts the photo out of balance.
Admire your beautifully taken photograph!
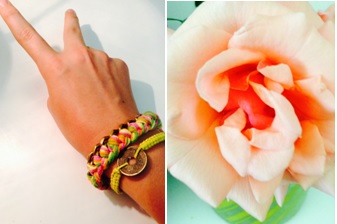
Remember this bracelet? If you want to know how to make it, you can visit here ![]()
When I look back at photo albums from ages ago, it’s really interesting to see what I was like when I was younger. A time capsule ‘captures’ that moment, except instead of it just being photos, it can be anything you like!
Making a time capsule is a great thing to make as a way to look back on who you were when you made it or a fun activity to do with your besties to mark your friendship and fun times.
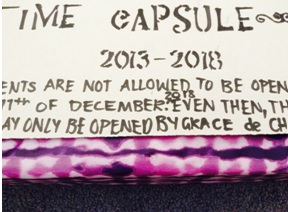
What you want to put in your time capsule s a completely personal thing. I wanted to show the things I liked, I achieved and the fun times I had.
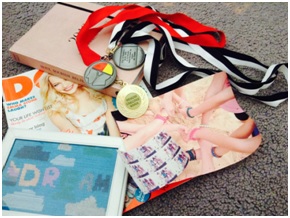
A few things to consider putting in there are:
· A magazine
· Photos of your best friends
· Medals
· Diaries
· Souvenirs or items that are special to you
· A letter written to your future self
If you are writing a letter to your future self, consider noting your favourite things at the time (e.g. your favourite teacher, favourite food, favourite book/TV show/movie, etc.)
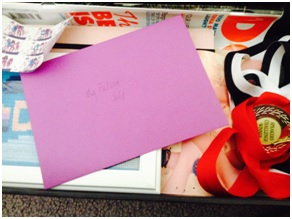
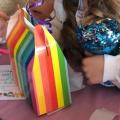
Once you have gathered the items that you want to put in your time capsule, find a box large enough to hold these items. If you want, you could decorate the box with wrapping paper and pens.
All you have to do now is find a suitable place* to keep your box and forget about it! You may wish to have a certain date where you open the box, such as your 21st birthday or on new years day in a decade.
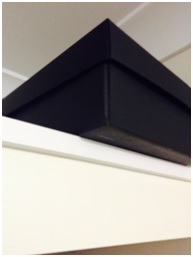
Many people choose to bury their time capsules in the ground. I wouldn’t recommend this a s the contents may decompose or you may forget where it is or that you even buried it! The best option is to put your time capsule on a high shelf in a dark, dry cupboard where it is safe from moisture or put your items into a specially made time capsule canister and note clearly where the time capsule is buried.
Have fun making them and comment what you put in your time capsule!
Let's celebrate Valentines Day a different way! Valentine’s Day shouldn't always be all about boys and ‘that special someone’. A really cool way to spend V-Day and the lead up to it is to love yourself! I have compiled some ideas in the form of a calendar for you to follow in the lead up to Valentine’s Day. I will also be posting tutorials on some of the activities that feature on the calendar. I can promise that when Feb 15th rolls round, you will love yourself more than ever and you will have had heaps of fun in doing so!
So what are you waiting for? You can print your Valentines Day Calender Planner (you will need a colour printer) and stay tuned for tutorials on activities on how to love yourself this Valentine’s Day!